Jenkins Basic and advance
What is Jenkins :
Jenkins – an open source automation server which enables developers around the world to reliably build, test, and deploy their software.
Install Jenkins, configure Docker as agent, set up cicd, deploy applications to k8s and much more.
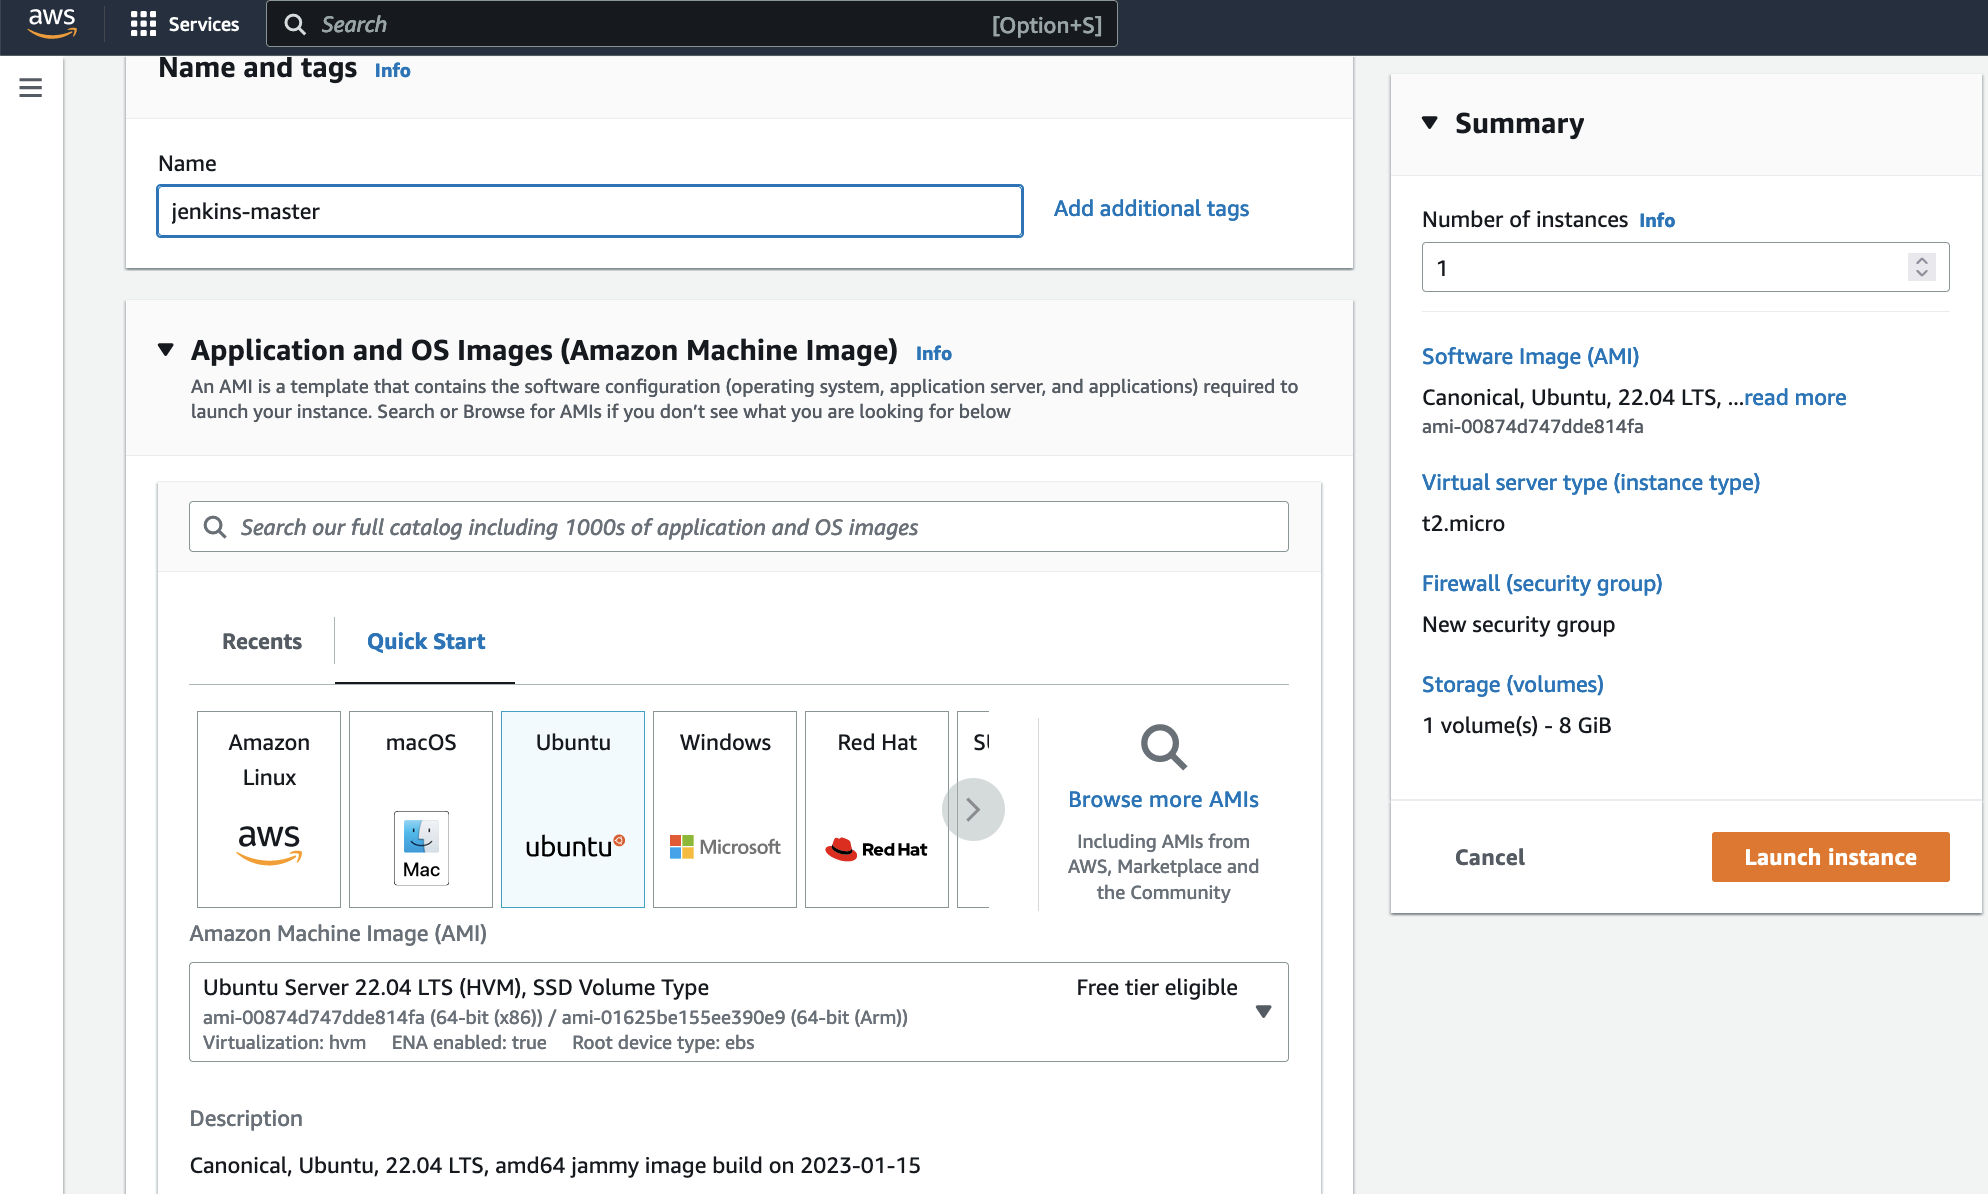
AWS EC2 Instance
Go to AWS Console
Instances(running)
Launch instances
Install Jenkins.
Pre-Requisites:
- Java (JDK)
Run the below commands to install Java and Jenkins
Install Java
sudo apt update
sudo apt install openjdk-11-jre
Verify Java is Installed
java -version
Now, you can proceed with installing Jenkins
curl -fsSL https://pkg.jenkins.io/debian/jenkins.io-2023.key | sudo tee \
  /usr/share/keyrings/jenkins-keyring.asc > /dev/null
echo deb [signed-by=/usr/share/keyrings/jenkins-keyring.asc] \
  https://pkg.jenkins.io/debian binary/ | sudo tee \
  /etc/apt/sources.list.d/jenkins.list > /dev/null
sudo apt-get update
sudo apt-get install jenkins
Note: By default, Jenkins will not be accessible to the external world due to the inbound traffic restriction by AWS. Open port 8080 in the inbound traffic rules as show below.
EC2 > Instances > Click on
In the bottom tabs -> Click on Security
Security groups
Add inbound traffic rules as shown in the image (you can just allow TCP 8080 as well, in my case, I allowed
All traffic).
Login to Jenkins using the below URL:
http://:8080 [You can get the ec2-instance-public-ip-address from your AWS EC2 console page]
Note: If you are not interested in allowing All Traffic to your EC2 instance 1. Delete the inbound traffic rule for your instance 2. Edit the inbound traffic rule to only allow custom TCP port 8080
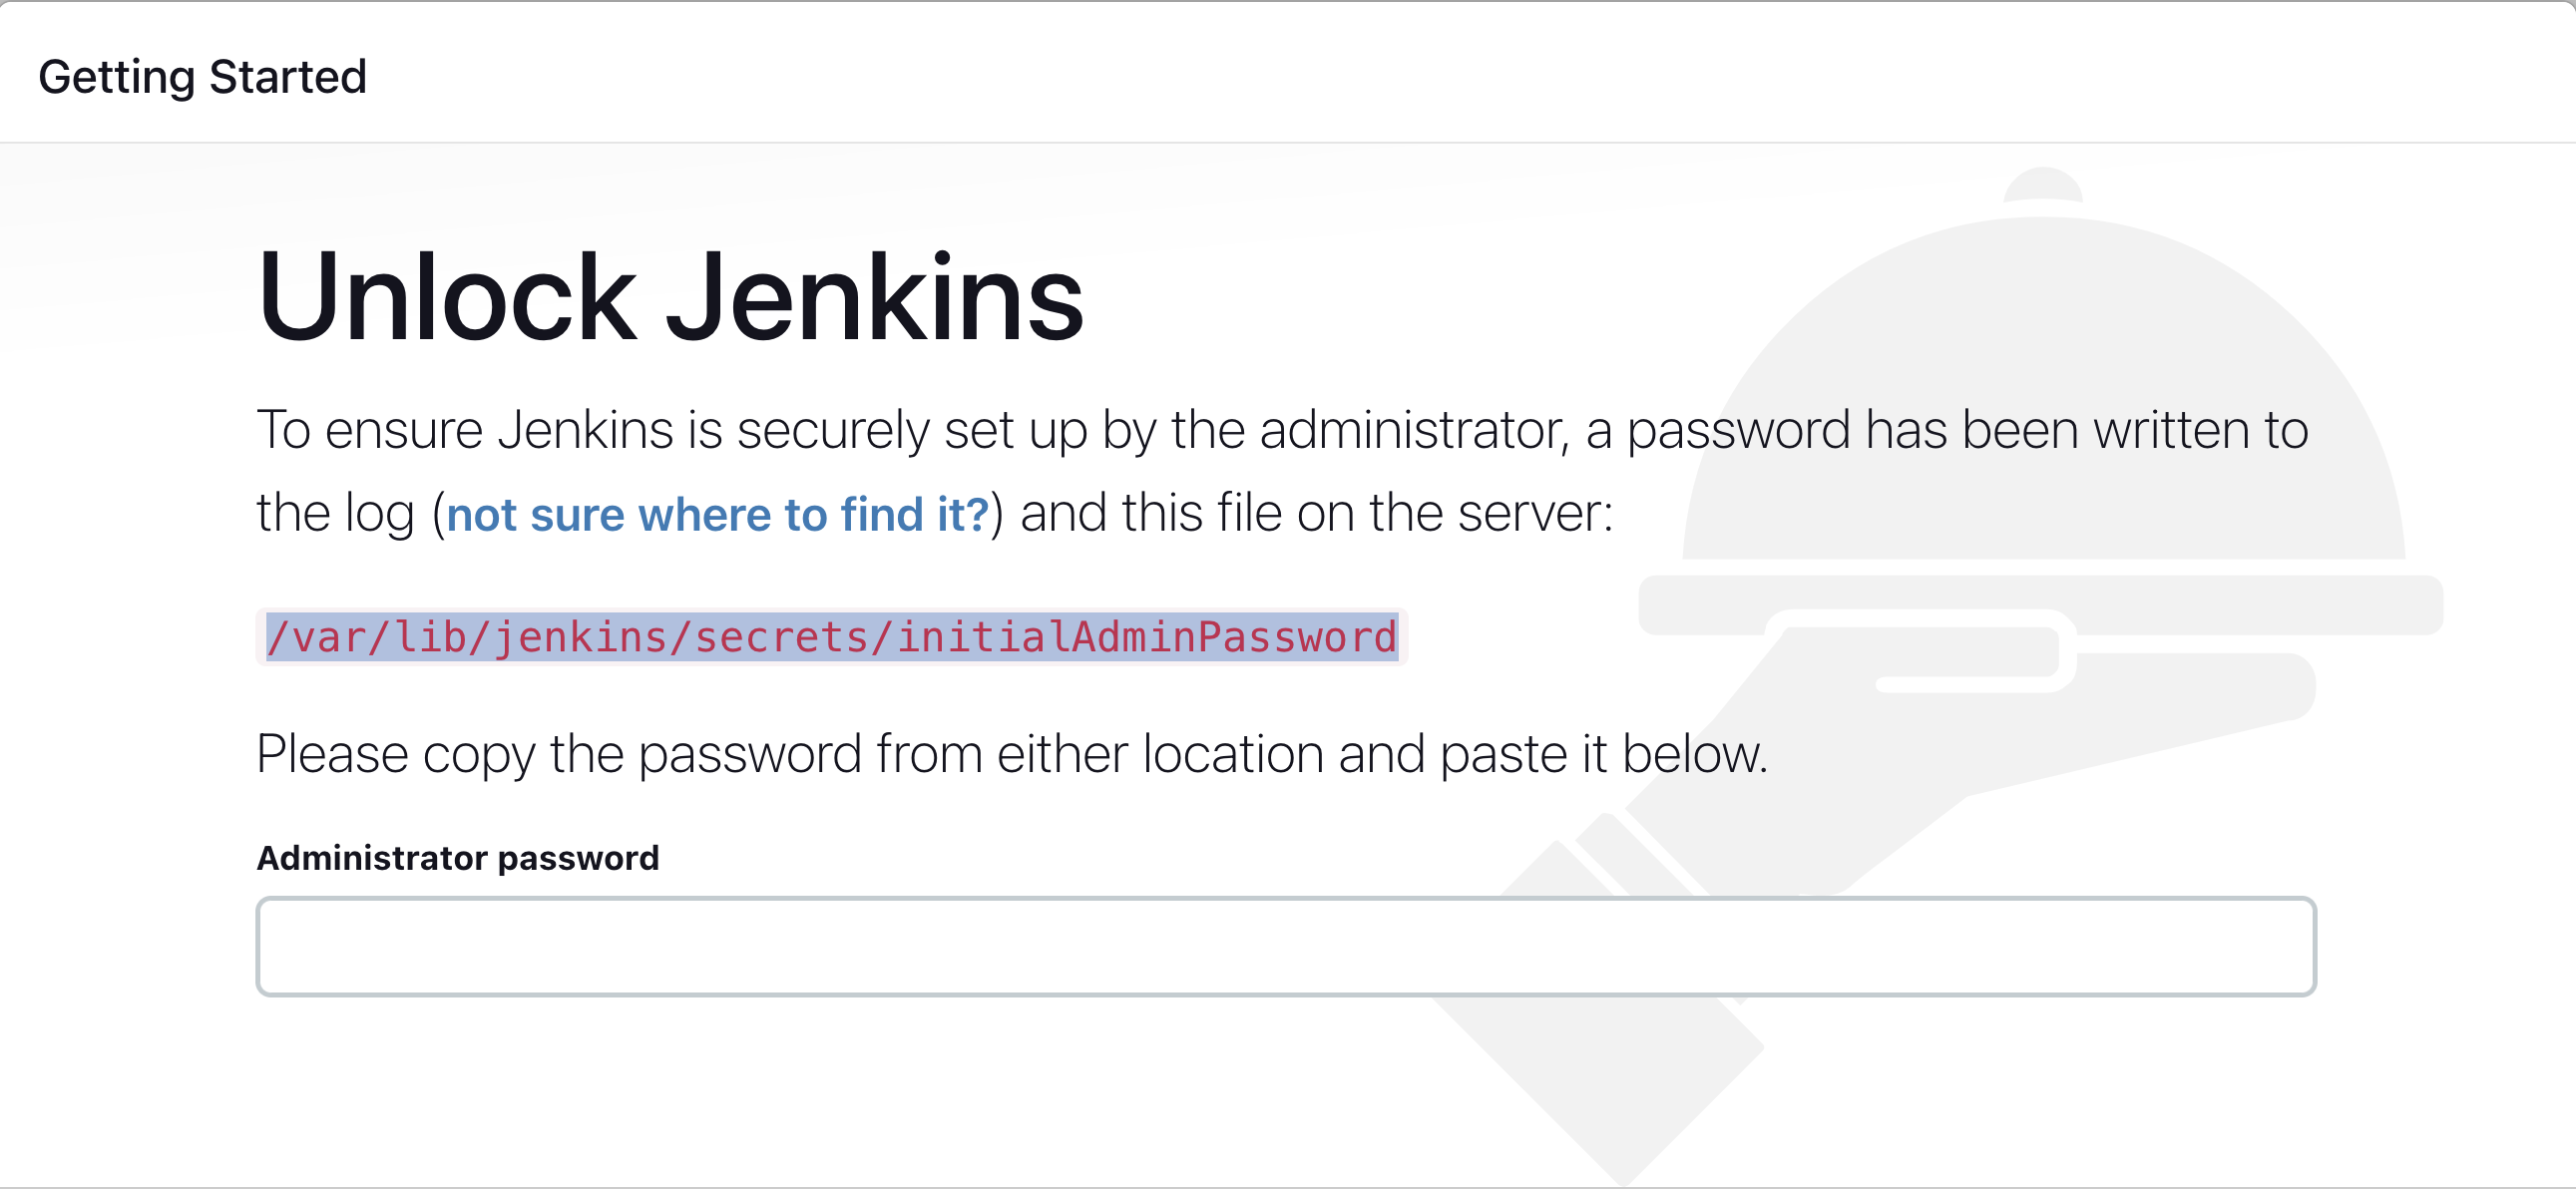
After you login to Jenkins, - Run the command to copy the Jenkins Admin Password - sudo cat /var/lib/jenkins/secrets/initialAdminPassword - Enter the Administrator password
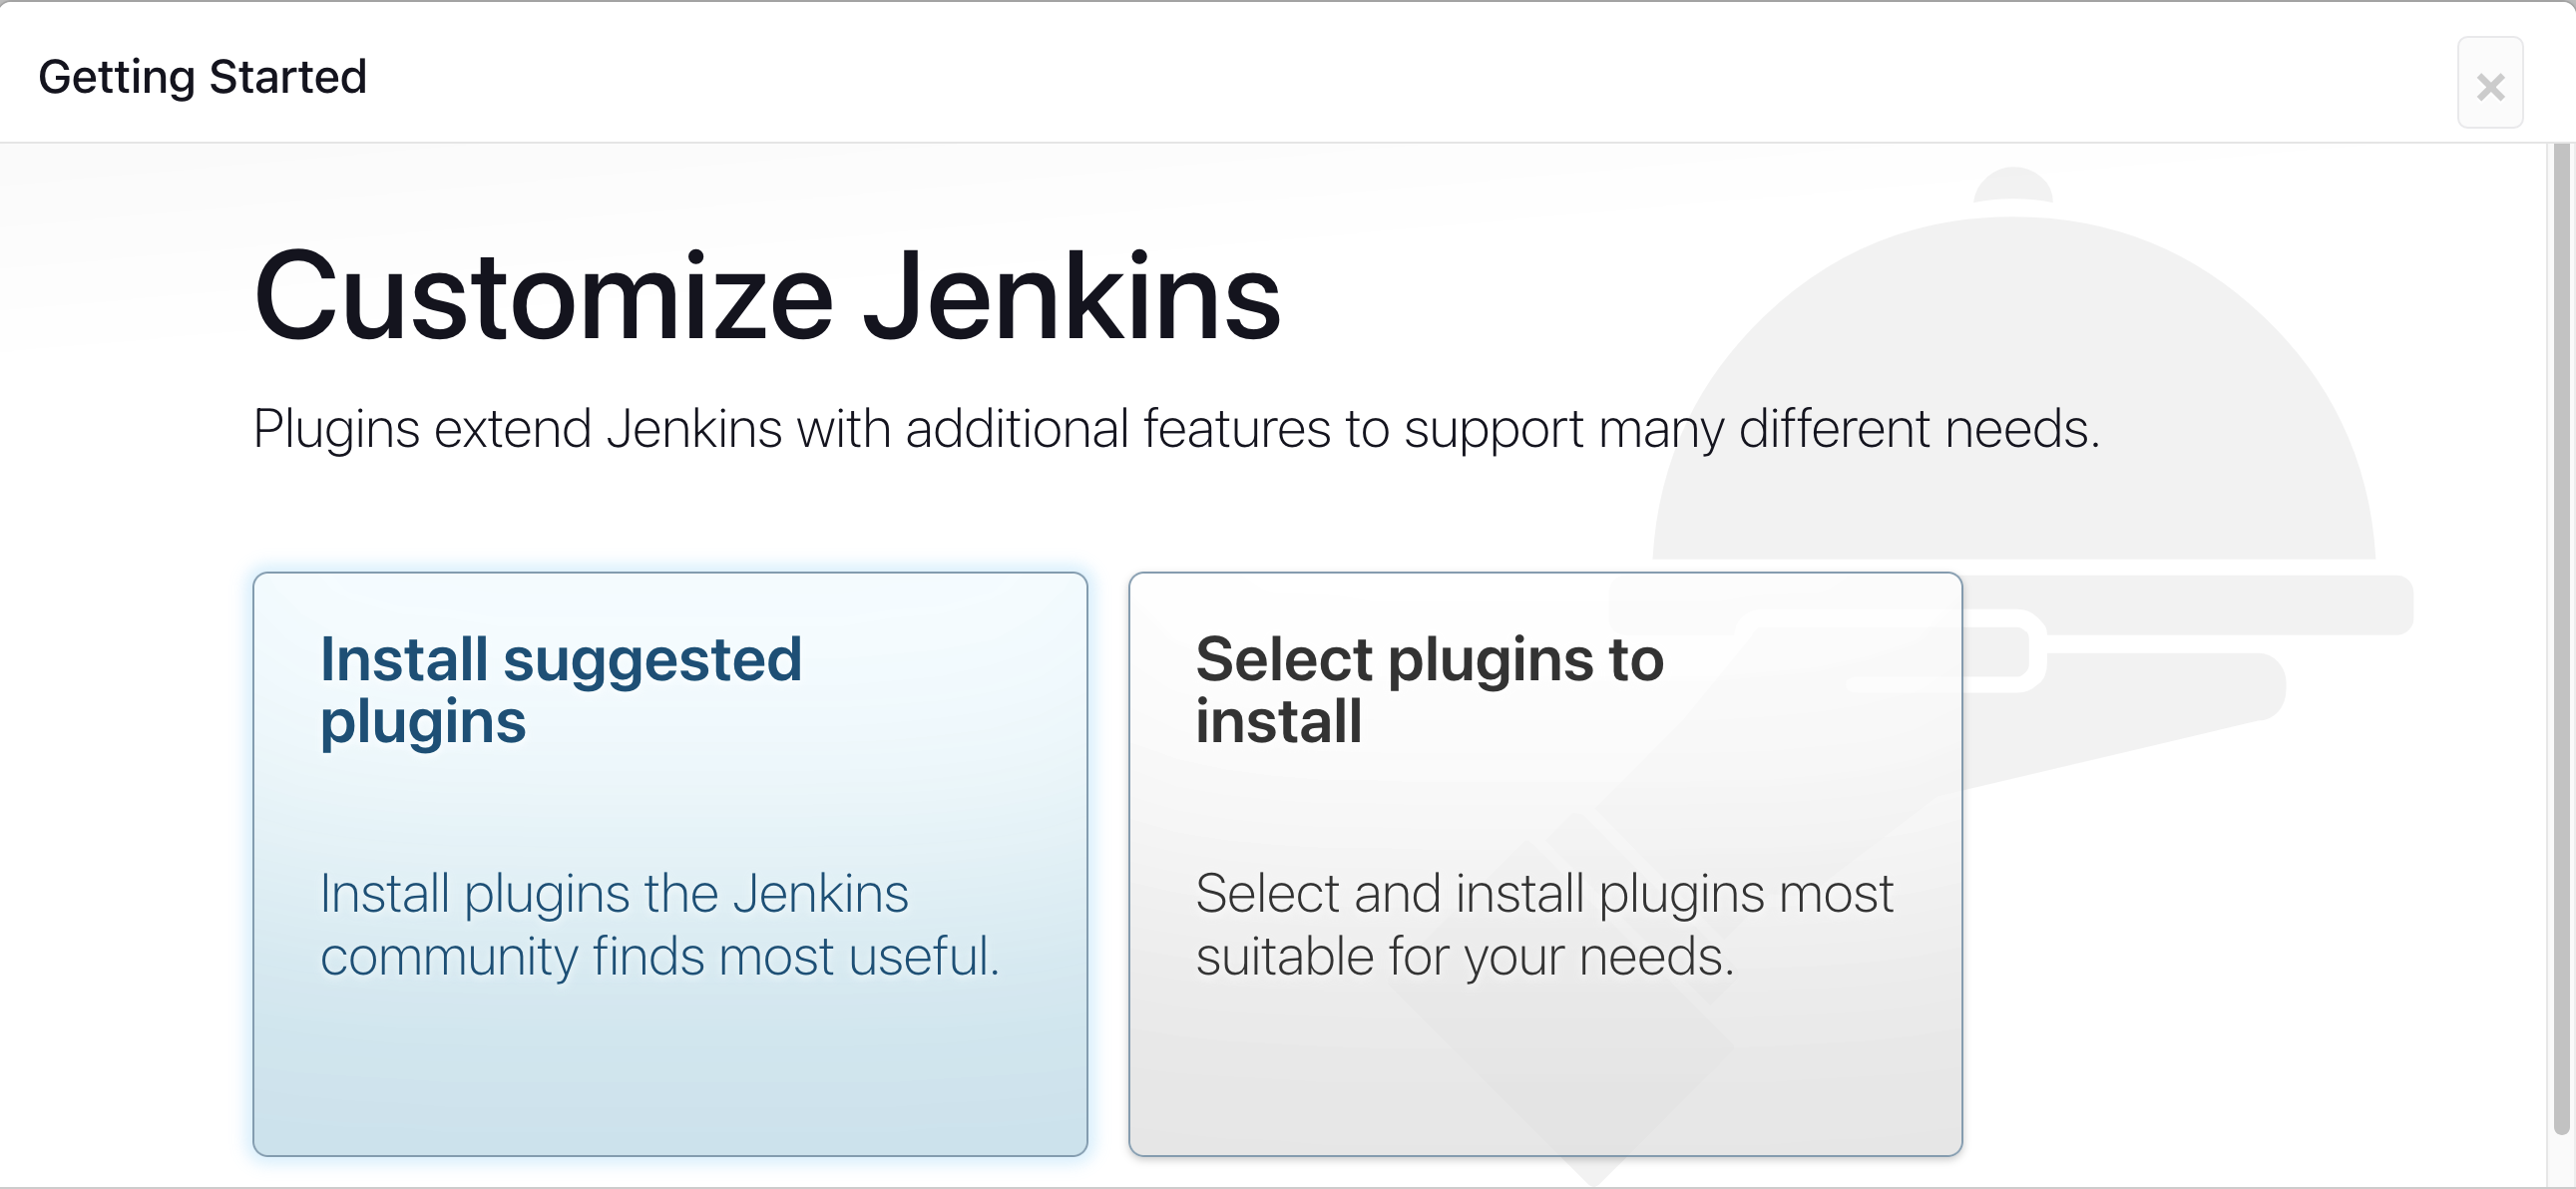
Click on Install suggested plugins
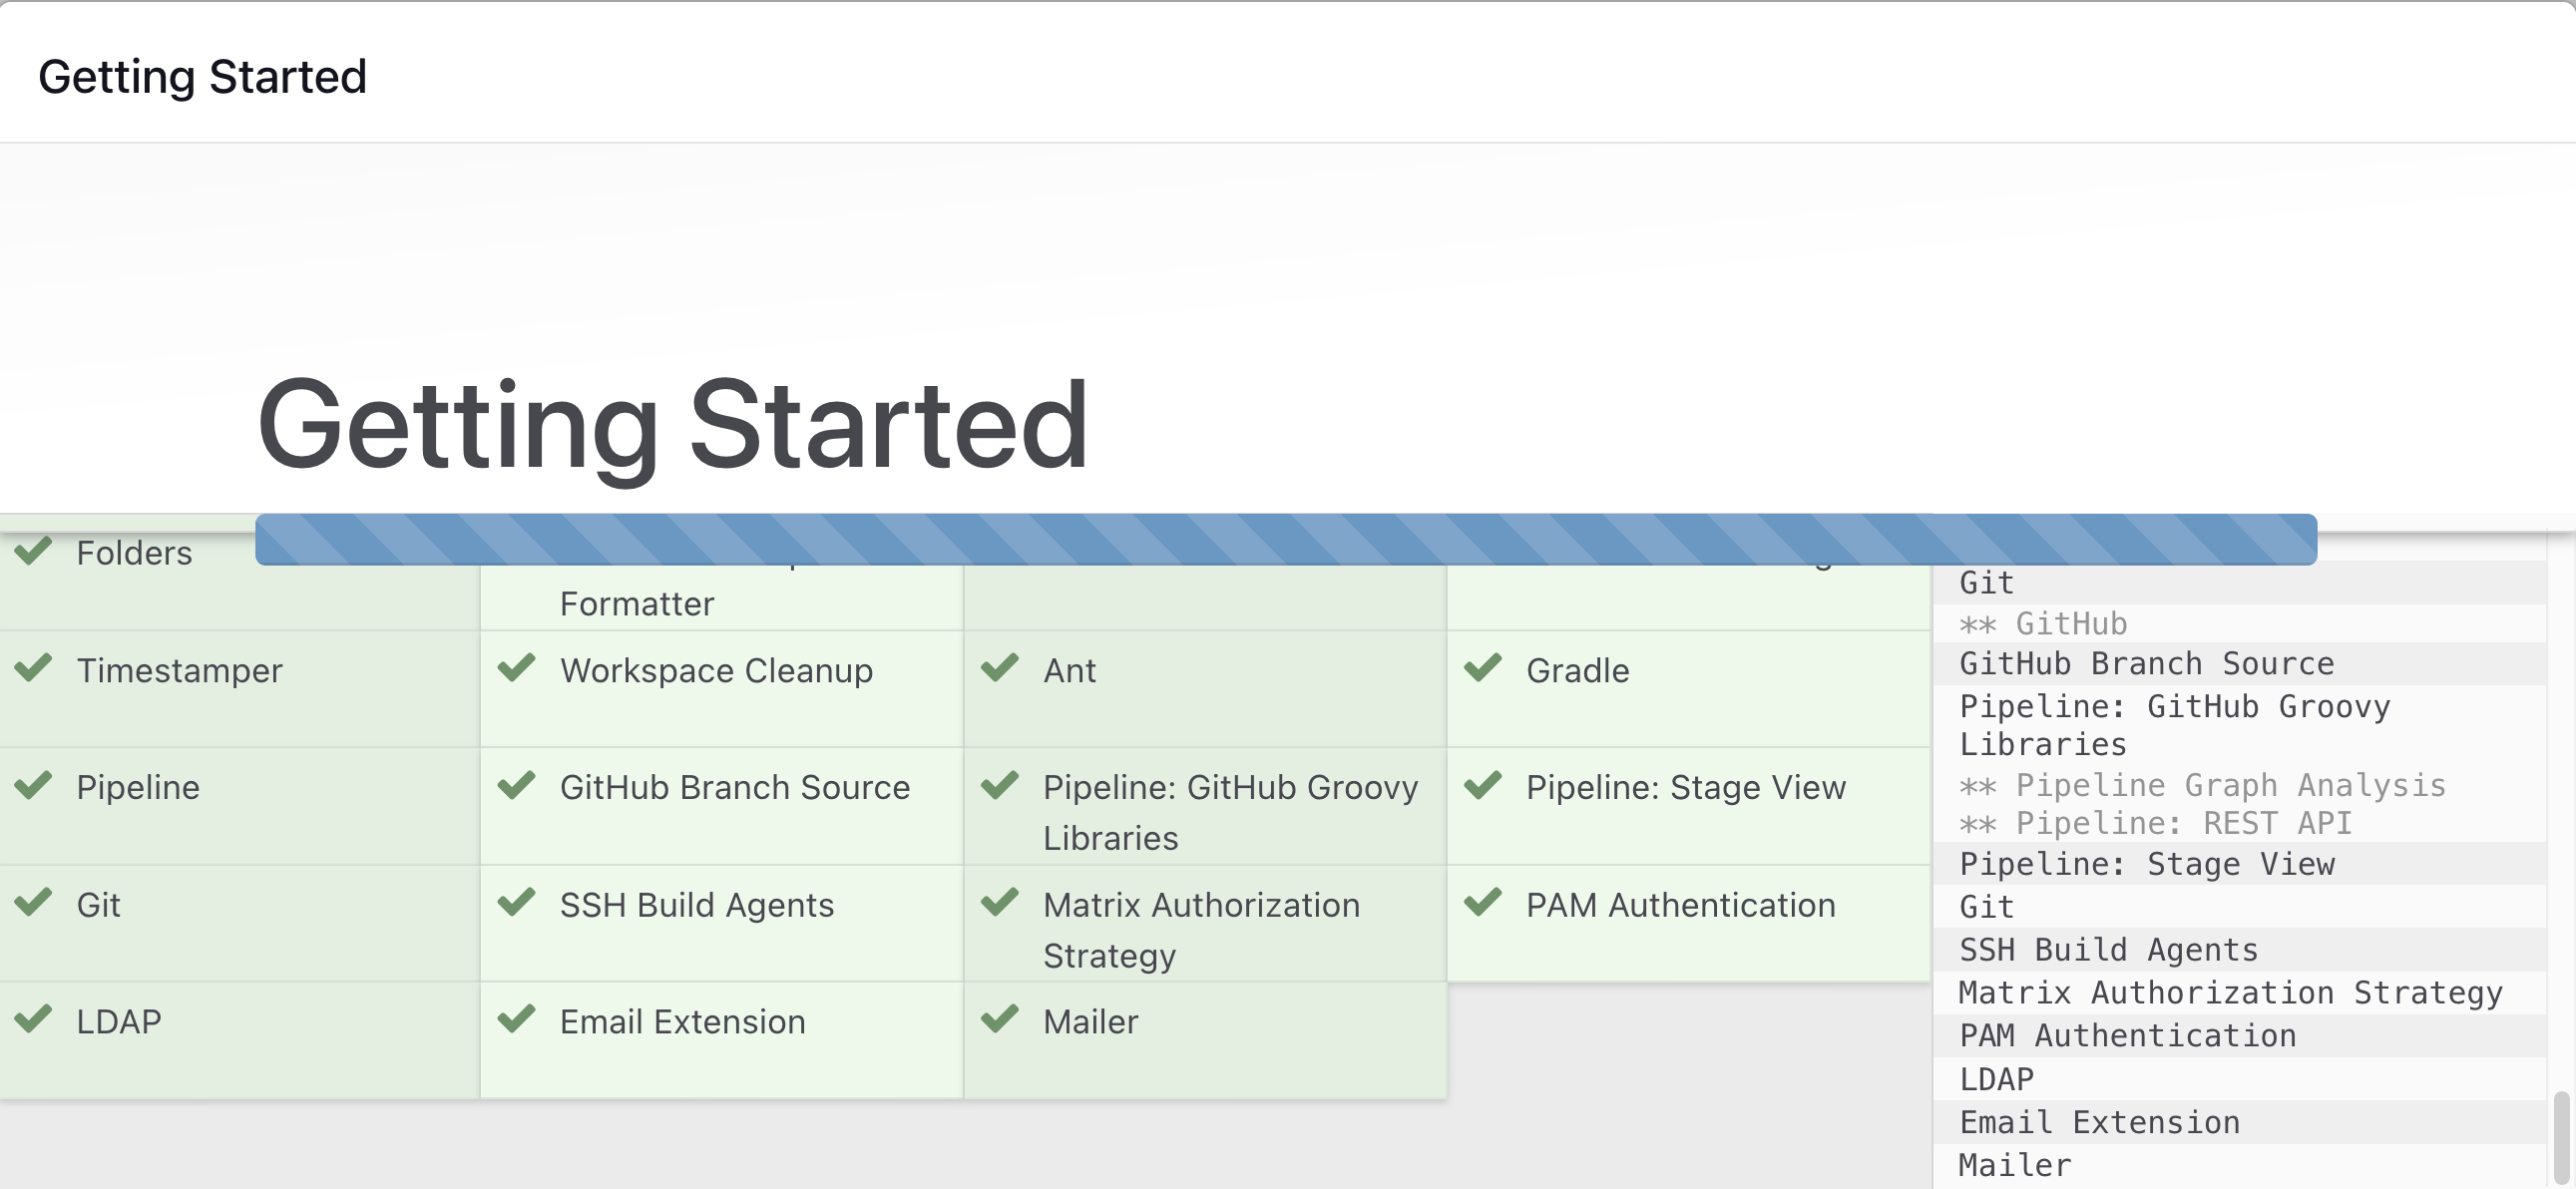
Wait for the Jenkins to Install suggested plugins
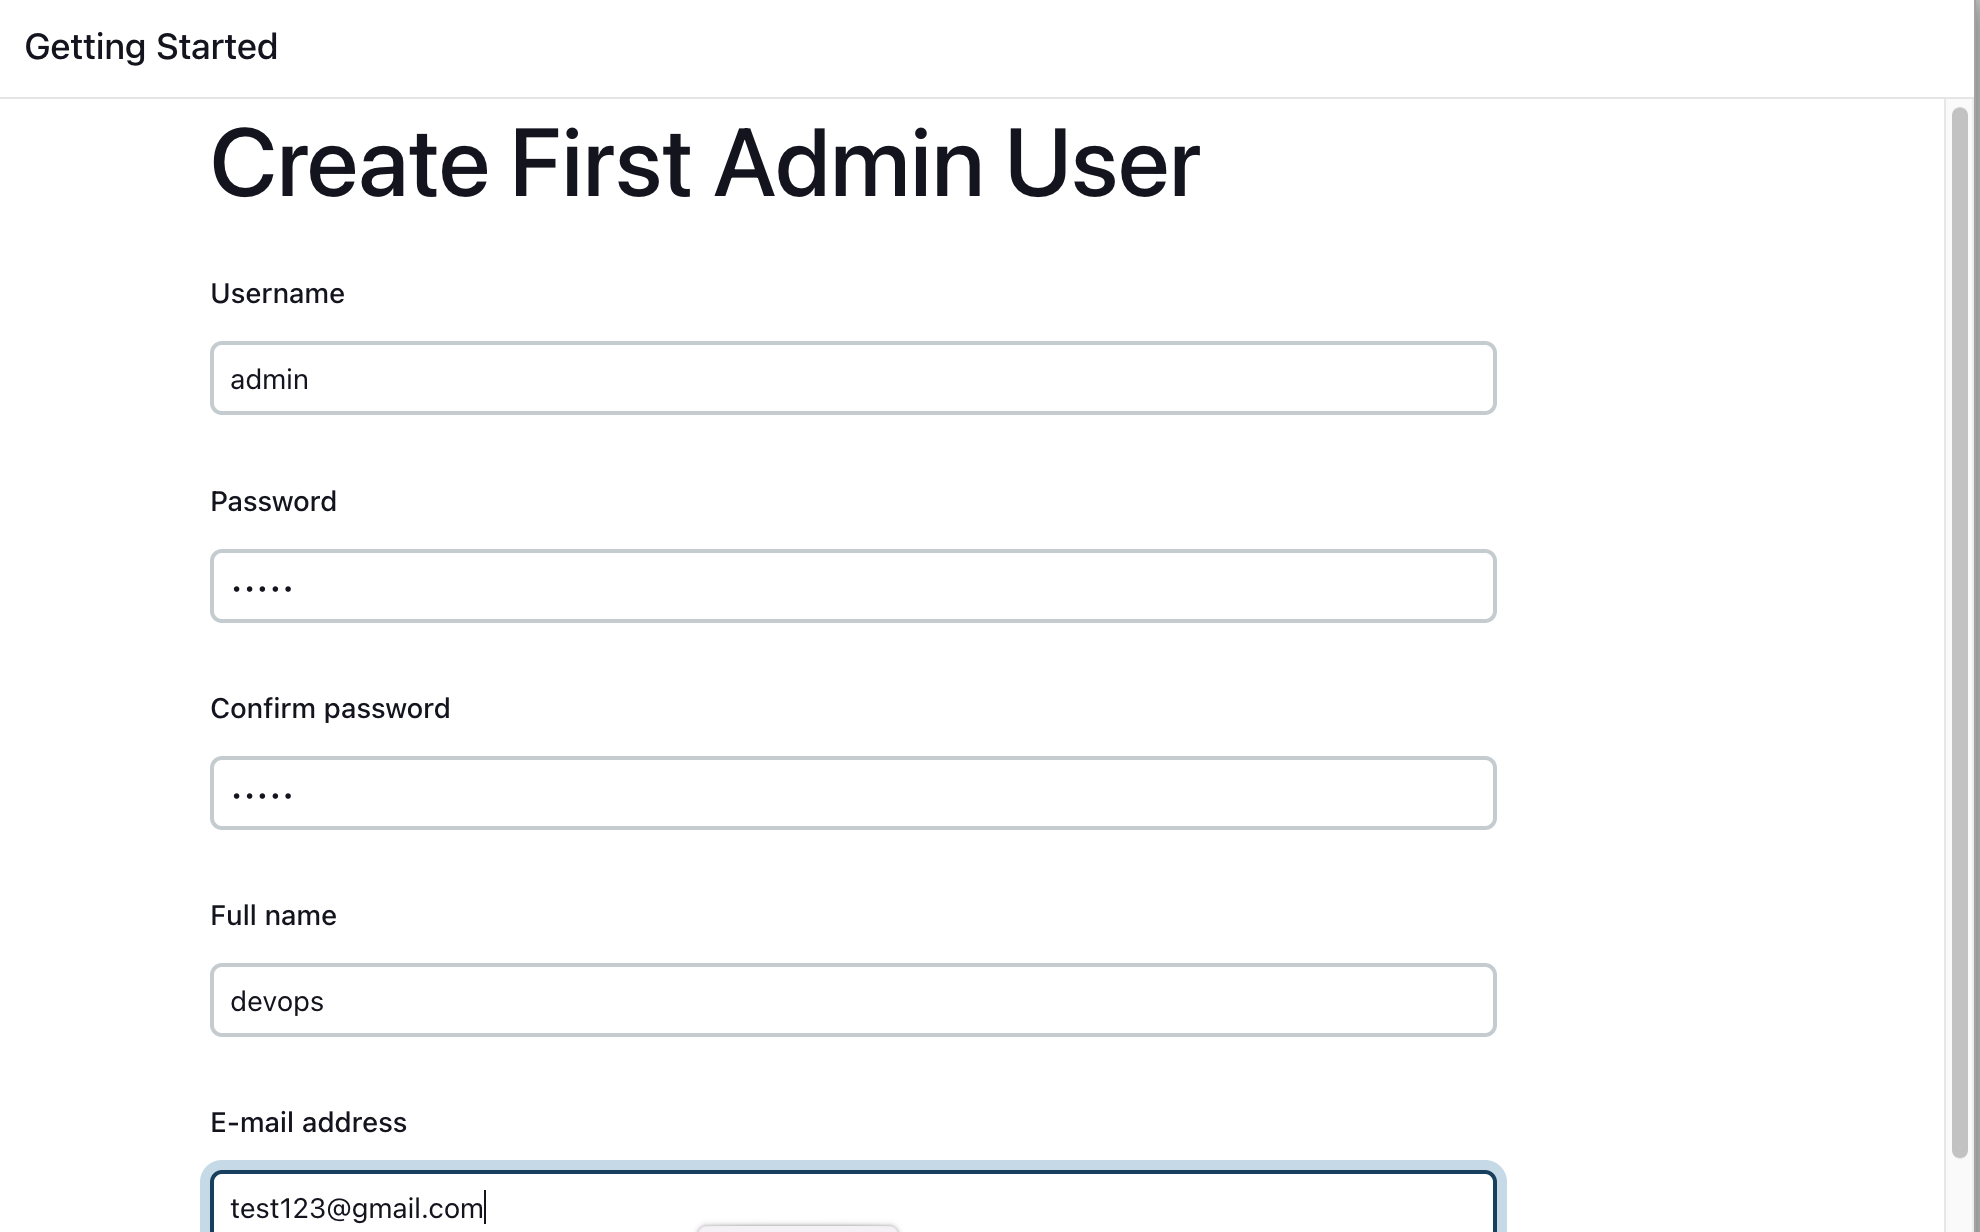
Create First Admin User or Skip the step [If you want to use this Jenkins instance for future use-cases as well, better to create admin user]
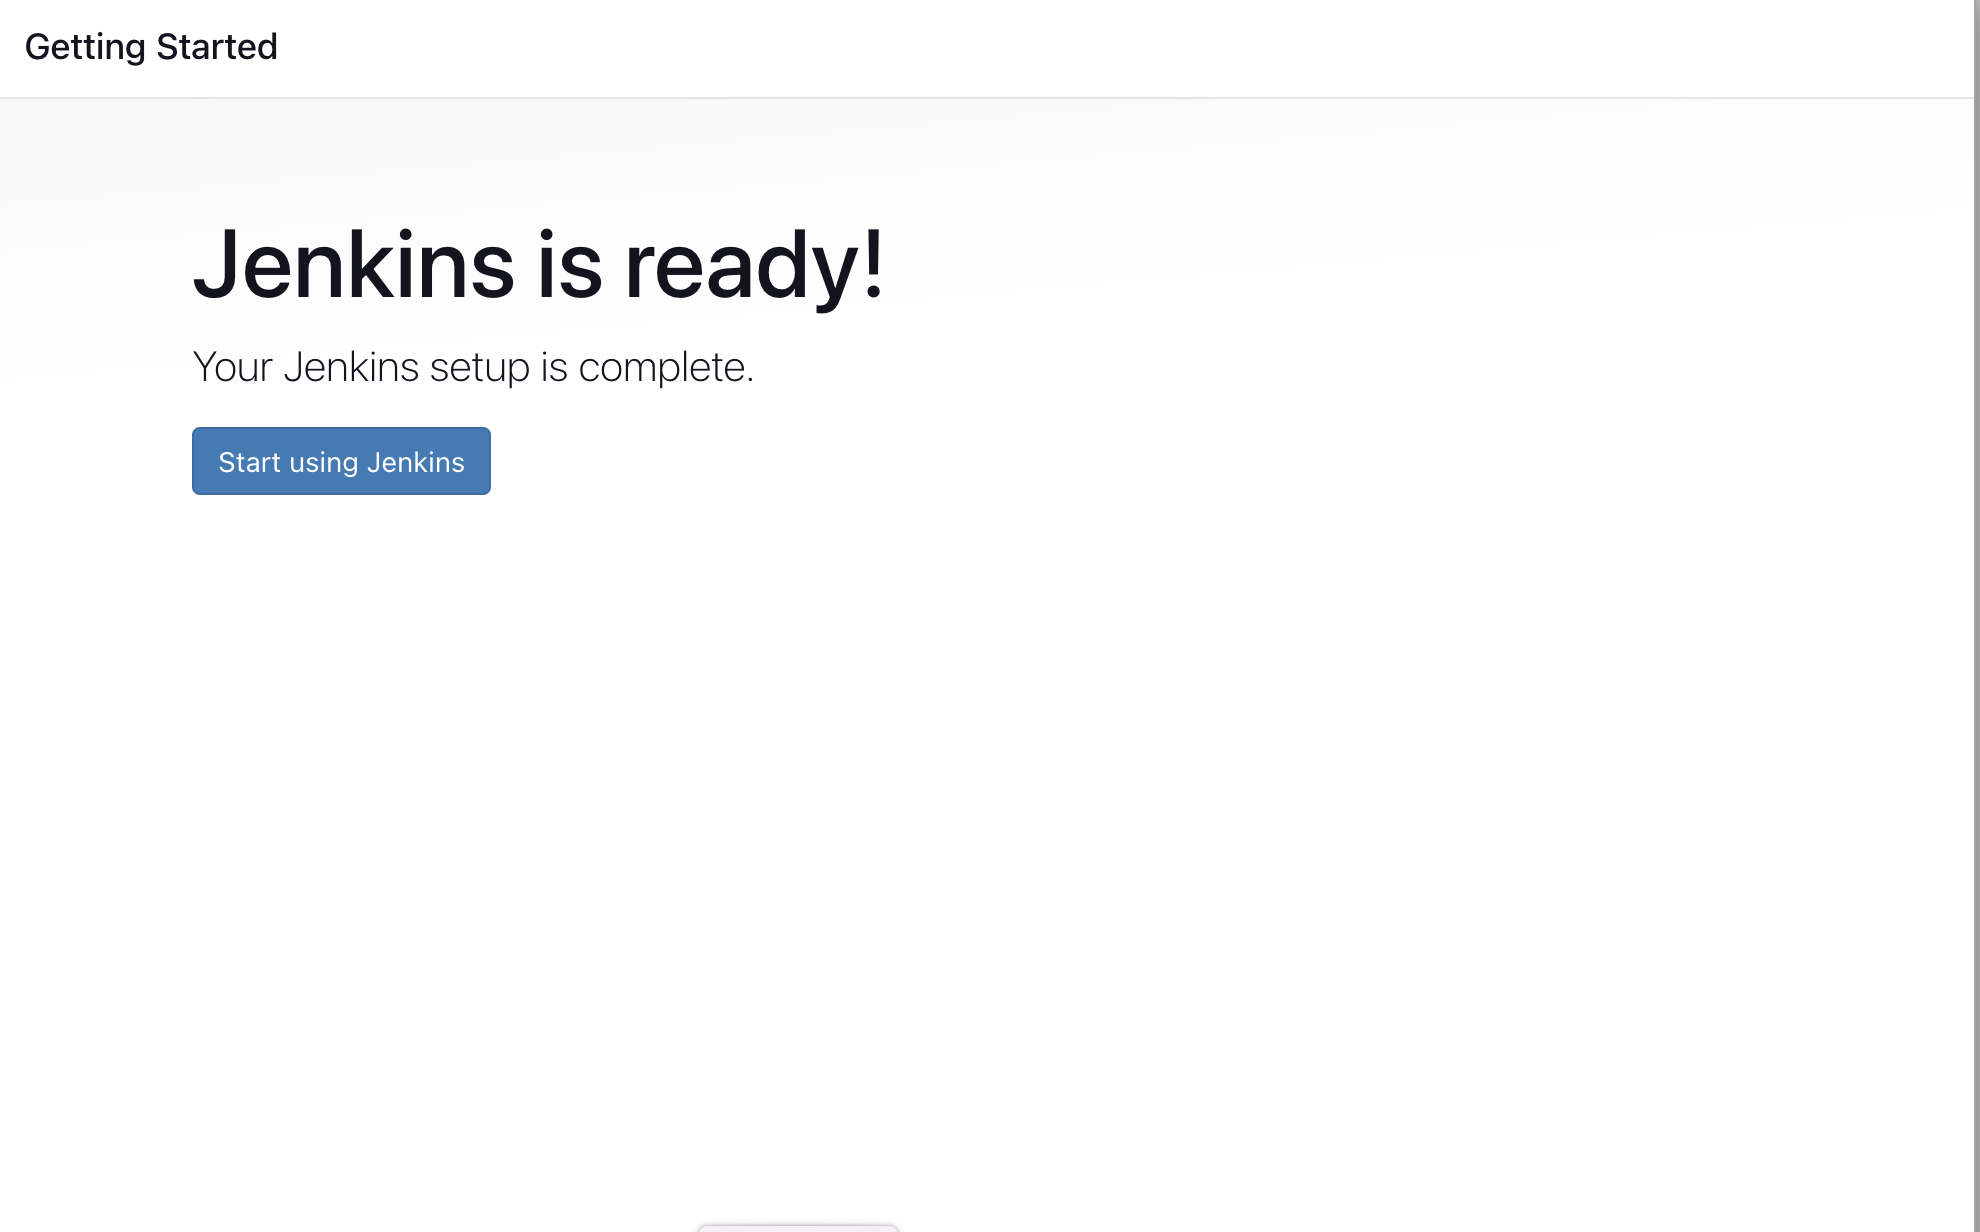
Jenkins Installation is Successful. You can now starting using the Jenkins
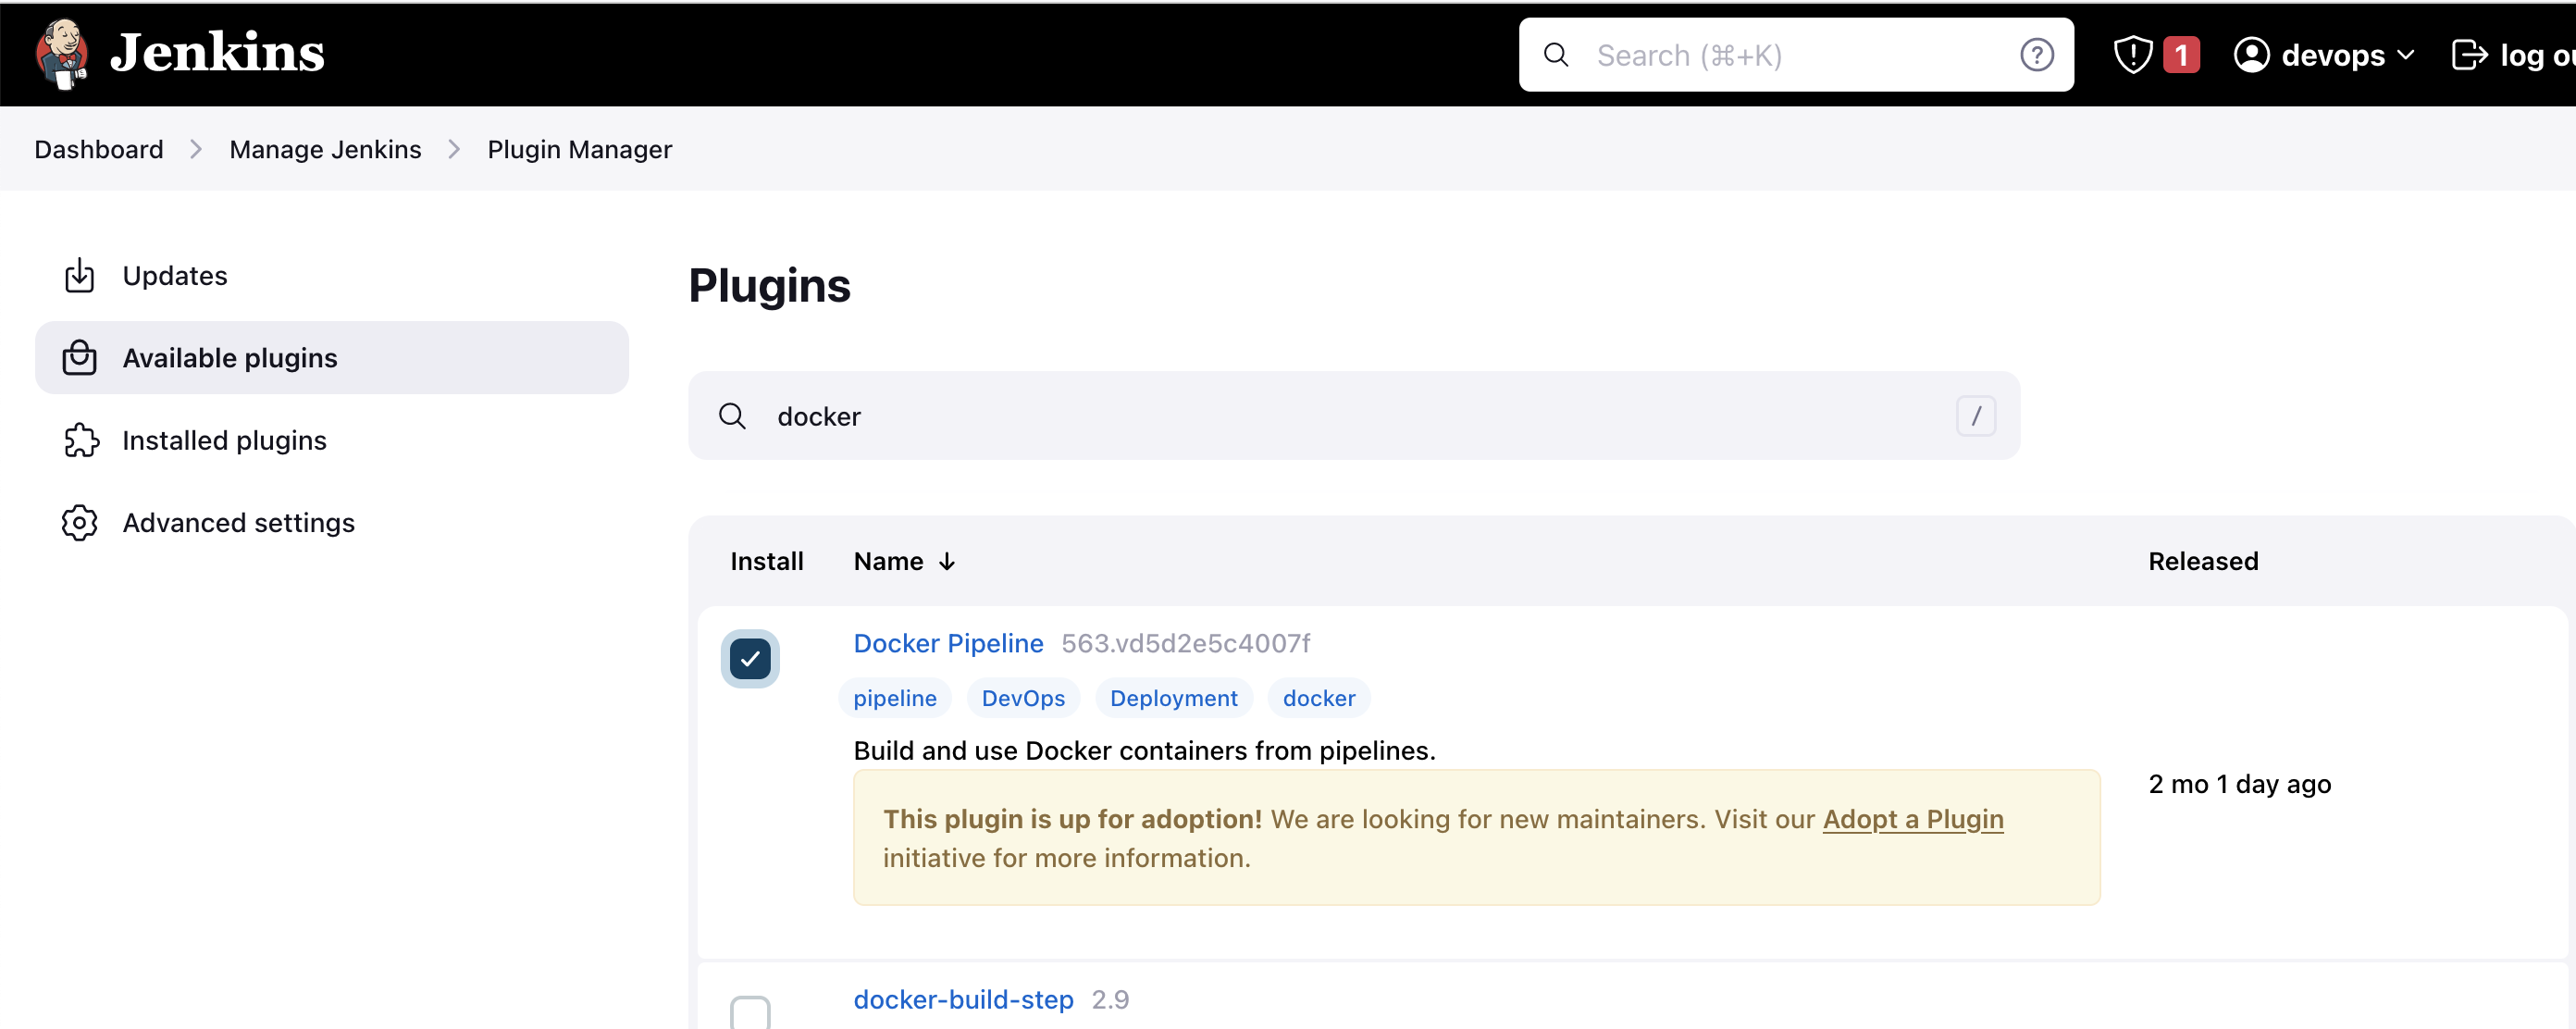
Install the Docker Pipeline plugin in Jenkins:
Log in to Jenkins.
Go to Manage Jenkins > Manage Plugins.
In the Available tab, search for "Docker Pipeline".
Select the plugin and click the Install button.
Restart Jenkins after the plugin is installed.
Wait for the Jenkins to be restarted.
Docker Slave Configuration
Run the below command to Install Docker
sudo apt update
sudo apt install docker.io
Grant Jenkins user and Ubuntu user permission to docker deamon.
sudo su -
usermod -aG docker jenkins
usermod -aG docker ubuntu
systemctl restart docker
Once you are done with the above steps, it is better to restart Jenkins.
http://<ec2-instance-public-ip>:8080/restart
The docker agent configuration is now successful.
Jenkins Master (Server)
Jenkins’s server or master node holds all key configurations. The Jenkins master server is like a control server that orchestrates all the workflow defined in the pipelines. For example, scheduling a job, monitoring the jobs, etc.
Jenkins Agent
An agent is typically a machine or container that connects to a Jenkins master and this agent executes all the steps mentioned in a Job. When you create a Jenkins job, you have to assign an agent to it. Every agent has a label as a unique identifier.
When you trigger a Jenkins job from the master, the actual execution happens on the agent node that is configured in the job.
A single, monolithic Jenkins installation can work great for a small team with a relatively small number of projects. As your needs grow, however, it often becomes necessary to scale up. Jenkins provides a way to do this called “master to agent connection.” Instead of serving the Jenkins UI and running build jobs all on a single system, you can provide Jenkins with agents to handle the execution of jobs while the master serves the Jenkins UI and acts as a control node.

Pre-requisites
Let’s say we’re starting with a fresh Ubuntu 22.04 Linux installation. To get an agent working make sure you install Java ( same version as Jenkins master server ) and Docker on it.
Note:- While creating an agent, be sure to separate rights, permissions, and ownership for Jenkins users.
Task: 1
Create an agent by setting up a node on Jenkins
Create a new AWS EC2 Instance and connect it to the master (Where Jenkins is installed)
The connection of the master and agent requires SSH and the public-private key pair exchange.
Verify its status under the "Nodes" section.
Step: 1
Create two EC2 instances one for the master and the other one for the agent.

Step: 2
Generate SSH keys on Jenkins-master EC2 instance (ssh-keygen -t ed25519)

Step: 3
Add public key from Jenkins-master instance to Jenkins-agent instance under location .ssh/authorized_keys

Step: 4
Try to connect Jenkins-agent from Jenkins-master

Step: 5
Install Java on the Jenkins-agent installation link

Step: 6
Create an agent by setting up a node on Jenkins
Go to the Jenkins dashboard, and click on Manage Jenkins --> Set up agent


Select the launch method as Launch agents via SSH Give the public IP of the agent in the host field.

Click on Add under Credentials.

Add the private key that we created in a Jenkins-master instance using ssh-keygen

Below we select Ubuntu for credentials

Click on save which will create a node.

Task: 2
Run your previous Jobs on the new agent
Use labels for the agent, your master server should trigger builds for the agent server.
Step: 1
Create a new job and give it to any name, select Pipeline and save.

Step: 2
Give a general description.

In the pipeline script set the dev-server as follows and click on save


on the console output we can see on pipeline running on the dev-server

Create a connection to your Jenkins job and your GitHub Repository via GitHub Integration.
Webhooks provide a way for notifications to be delivered to an external web server whenever certain actions occur on a repository or organization.
For GitHub-Webhook:
Open the GitHub repository.
Go to “settings” and then to “hooks”.
Click the “Add webhook” button. Enter “<Jenkins url>//github-webhook/” Payload URL. Click on Add webhook.

💼Task: 2
In the Execute shell run the application using Docker compose
You will have to make a Docker Compose file for this Project
Run the project
Steps:
For the GitHub integration plugin
Click on Manage Jenkins >Manage plugin > Available plugin> GitHub integration > Install it
Create ssh public and private keys

Go to GitHub account > Account Settings >SSH and GPG keys>Enter public ip and add it

Click on New Item on left panel >Enter item name and select freestyle project options >click on Ok

Enter description > select checkbox Github project > enter github url of project

- In Source Code Management > select Git > enter github url> In credentials click on Add


- Select Github hook trigger for GITScm polling in Build trigger

- In build steps >select Execute shell > Enter commands of docker compose and save the configuration
COPY
COPY
echo "……Devops CI/CD Started………………"

docker-compose up -d


- Check the web-hook connection of the Github project, it should have a green checkmark.

Access the URL

Now make changes in code push to GitHub Master branch & jenkins will automatically build the code


